As everyone is well aware, it’s winter. It’s been colder than cold with a bunch of snow to boot! What better time than now to organize some indoor fun?!
I have also been thinking a lot lately about doing more organized activities for Carter. He gets a lot of play time all day, and I wanted to throw in some more “guided play” activities for him. I am starting off with different sensory activities and then we will do some “tot school” type of activities with numbers, letters, colors etc.
Here are four great activities we did recently!

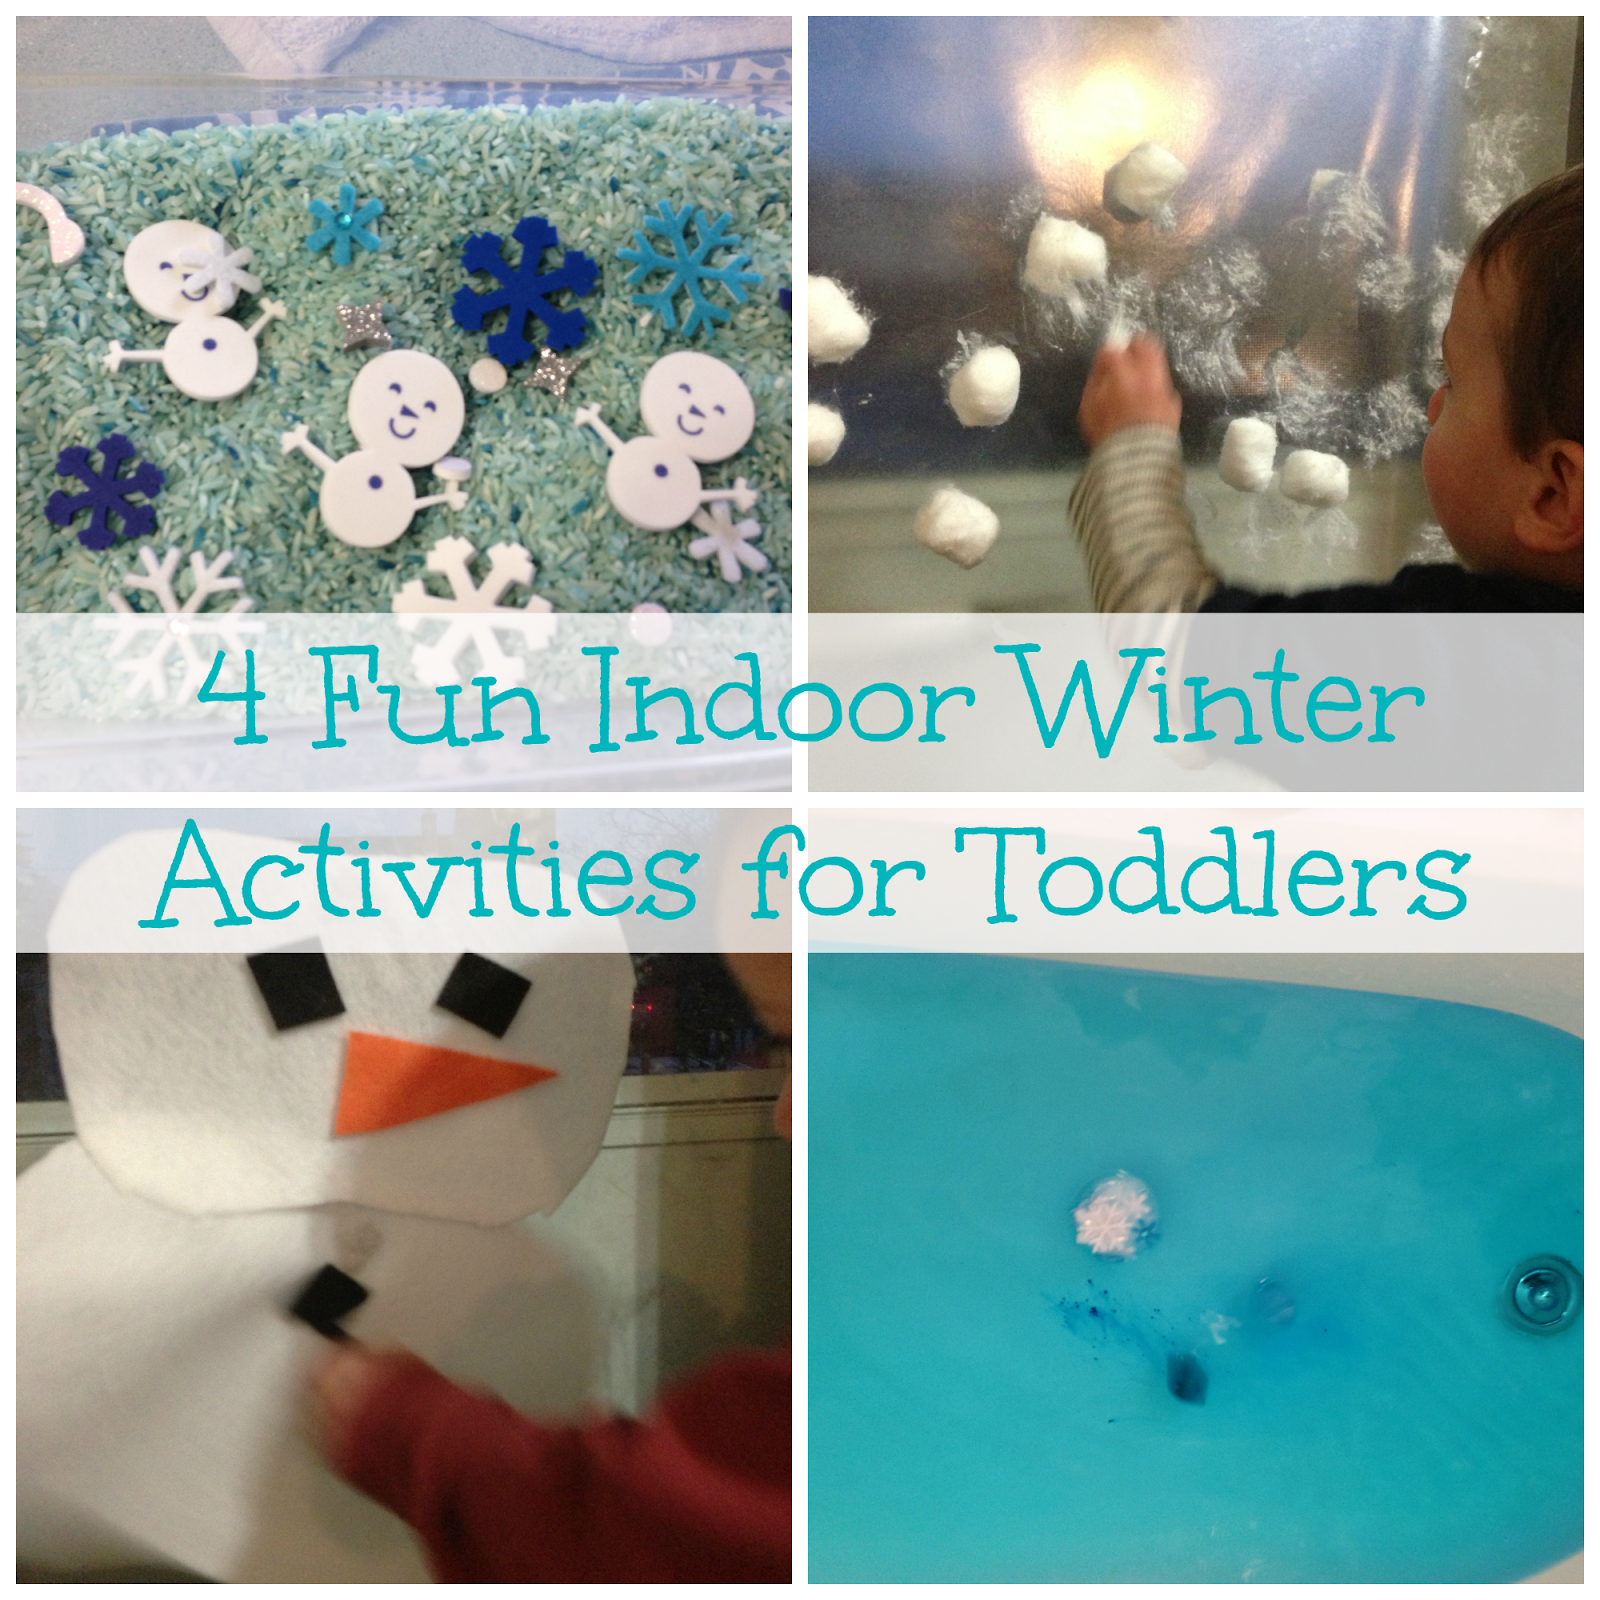
1. Snow window! I got this idea from the blog No Time for Flashcards. Her’s included Q-tips but I wasn’t quite ready to hand those over to Carter to play with. This was our first “mom directed” activity like this and he really seemed to like it! What you need is Clear Contact Paper
and cotton balls. You can use other things, too, like Qtips or those round make up remover cotton thingies. I stuck with simple cotton balls for this time! The hard part is taking the backing off the contact paper and taping it up without your kid trying to grab everything.
and cotton balls. You can use other things, too, like Qtips or those round make up remover cotton thingies. I stuck with simple cotton balls for this time! The hard part is taking the backing off the contact paper and taping it up without your kid trying to grab everything.
Carter loved sticking the cotton balls up and moving them around the paper! When it was time to clean up we put the ones from the floor back into the bag and then he started taking them off the paper and putting those away, too! More to use for next time!

2. Our next activity was our “arctic bath!” For this I made a bunch of “icebergs” by freezing water into different size Tupperwares. I added food coloring to some of them, too. I added color to the water using Crayola Bath Dropz , but you can also use food coloring, too (just check to make sure it doesn’t stain your kind of tub first!) I made “snow” around the tub with shaving cream, which I think after everything, was Carter’s favorite part! He loved scooping the shaving cream up into the containers.
, but you can also use food coloring, too (just check to make sure it doesn’t stain your kind of tub first!) I made “snow” around the tub with shaving cream, which I think after everything, was Carter’s favorite part! He loved scooping the shaving cream up into the containers.
One tip I would give is to add the icebergs after the water has filled up! I added mine while I was filling up the tub and it was almost all melted by the time Carter got in!

3. Build a felt snowman was our next activity! This was super easy and cheap to make! I bought the felt at the craft store for about 33 cents per piece. I cut out the pieces and then taped up the snowman base. I showed Carter how to put the nose and eyes on. He wasn’t as interested in this one as he was in the other activities we did, but I think there are a lot of uses for this kind of activity in the future! We also tried making our snowman on a tray. Carter liked putting the pieces in different spots, but never really made it into an actual face.

4. Winter Sensory Bin! Carter loved loved loved this activity! He seriously sat and played for an hour and a half. He never sits still that long so I was in shock! I have seen a lot of interpretations of sensory bins all over pinterest and blogs so it’s really easy to make and make it how you want!
As a base I made blue rice. Then I added a bunch of foam shapes that were winter themed I had bought on sale at Target after Christmas. There are still a ton leftover so we can use them next year for a Christmas activity! Carter loved playing with the rice and mixing it around with his measuring cup!
It’s easy to make the rice! Just put plain white rice in a ziploc baggie or other container. Add some food coloring and mix (and mix and mix and mix) you may also need to add a tiny bit of water to help spread the food coloring. Then, just let it dry overnight and you’re good to go! I spread mine out on a cookie sheet to dry, just to make sure it was good and dry!
Next up I will be testing out some Valentines Day activities and sharing those soon! Stay tuned for more toddler fun to come!
FYI: This post uses a few affiliate links from amazon.
This month’s super sponsor: